Getting Started with DB2 and Java
Here’s a basic walkthrough of what you need to start working with Java and DB2, specifically a java Servlet running on Tomcat.
First you’ll need a few .jar files: db2java.jar or db2jcc4.jar, and db2jcc_license_cu.jar. More on which driver jar to use later.
These files are available in your db2 installation. My db2 installation path on Red Hat Enterprise Linux was /opt/db2 and my jar files were located in /opt/db2/V10.5/java/.
For some reason the db2java.jar file you’re going to need is shipped by IBM with a .zip extension instead of a .jar extension. You can easily fix this my renaming the file.
Now that we have our .jar files lets create a ‘lib’ directory in the root of our project and put them there. We’ll come back to these .jar files when it’s time to start talking to your DB2 database.
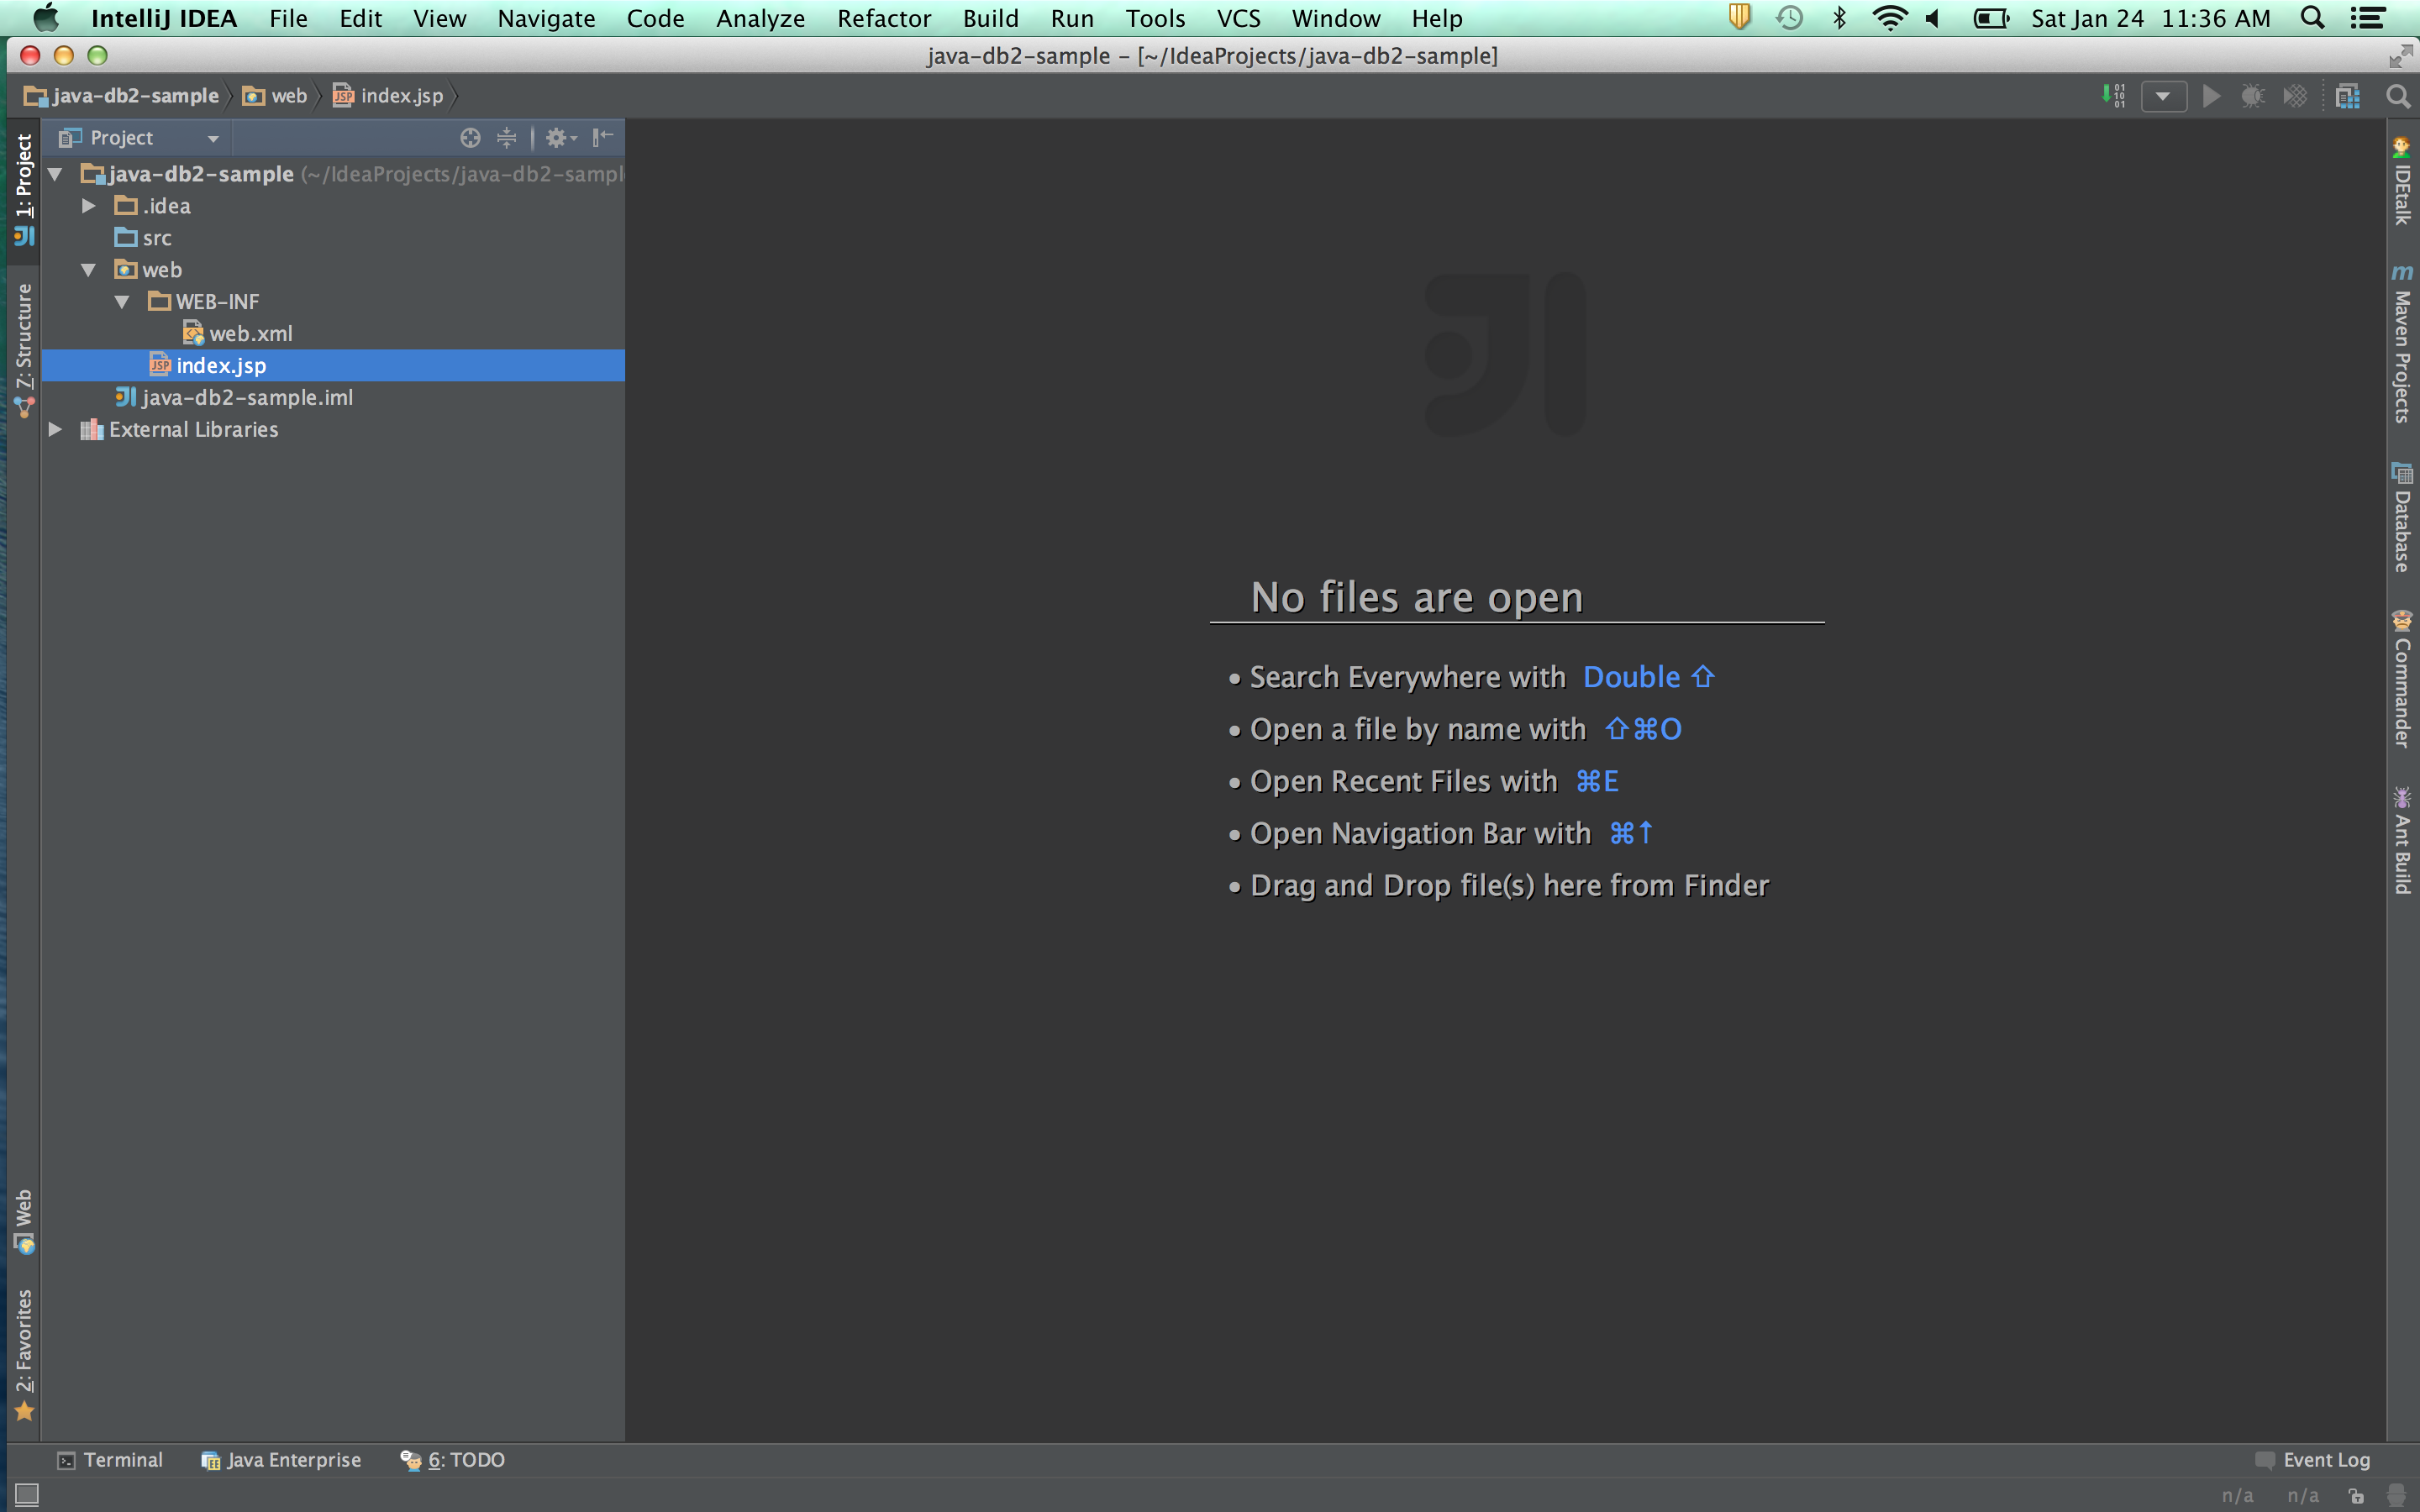
Now let’s move on to creating our project. I’ll be using IntelliJ IDEA. Go to ‘New Project -> Java’. Select Java EE and check Web Application. After you name your project you should see something like this:
We’ll start by editing the web.xml file. This file defines many things about your app, but all we’re going to do here is define a servlet and it’s url path mapping.
...
<servlet>
    <servlet-name>TestServlet</servlet-name>
    <servlet-class>com.example.servlets.TestServlet</servlet-class>
</servlet>

<servlet-mapping>
    <servlet-name>TestServlet</servlet-name>
    <url-pattern>/test</url-pattern>
</servlet-mapping>
...
Now let’s create our servlet file. Select the ‘src’ directory, right click, select ‘New -> Java Class’.
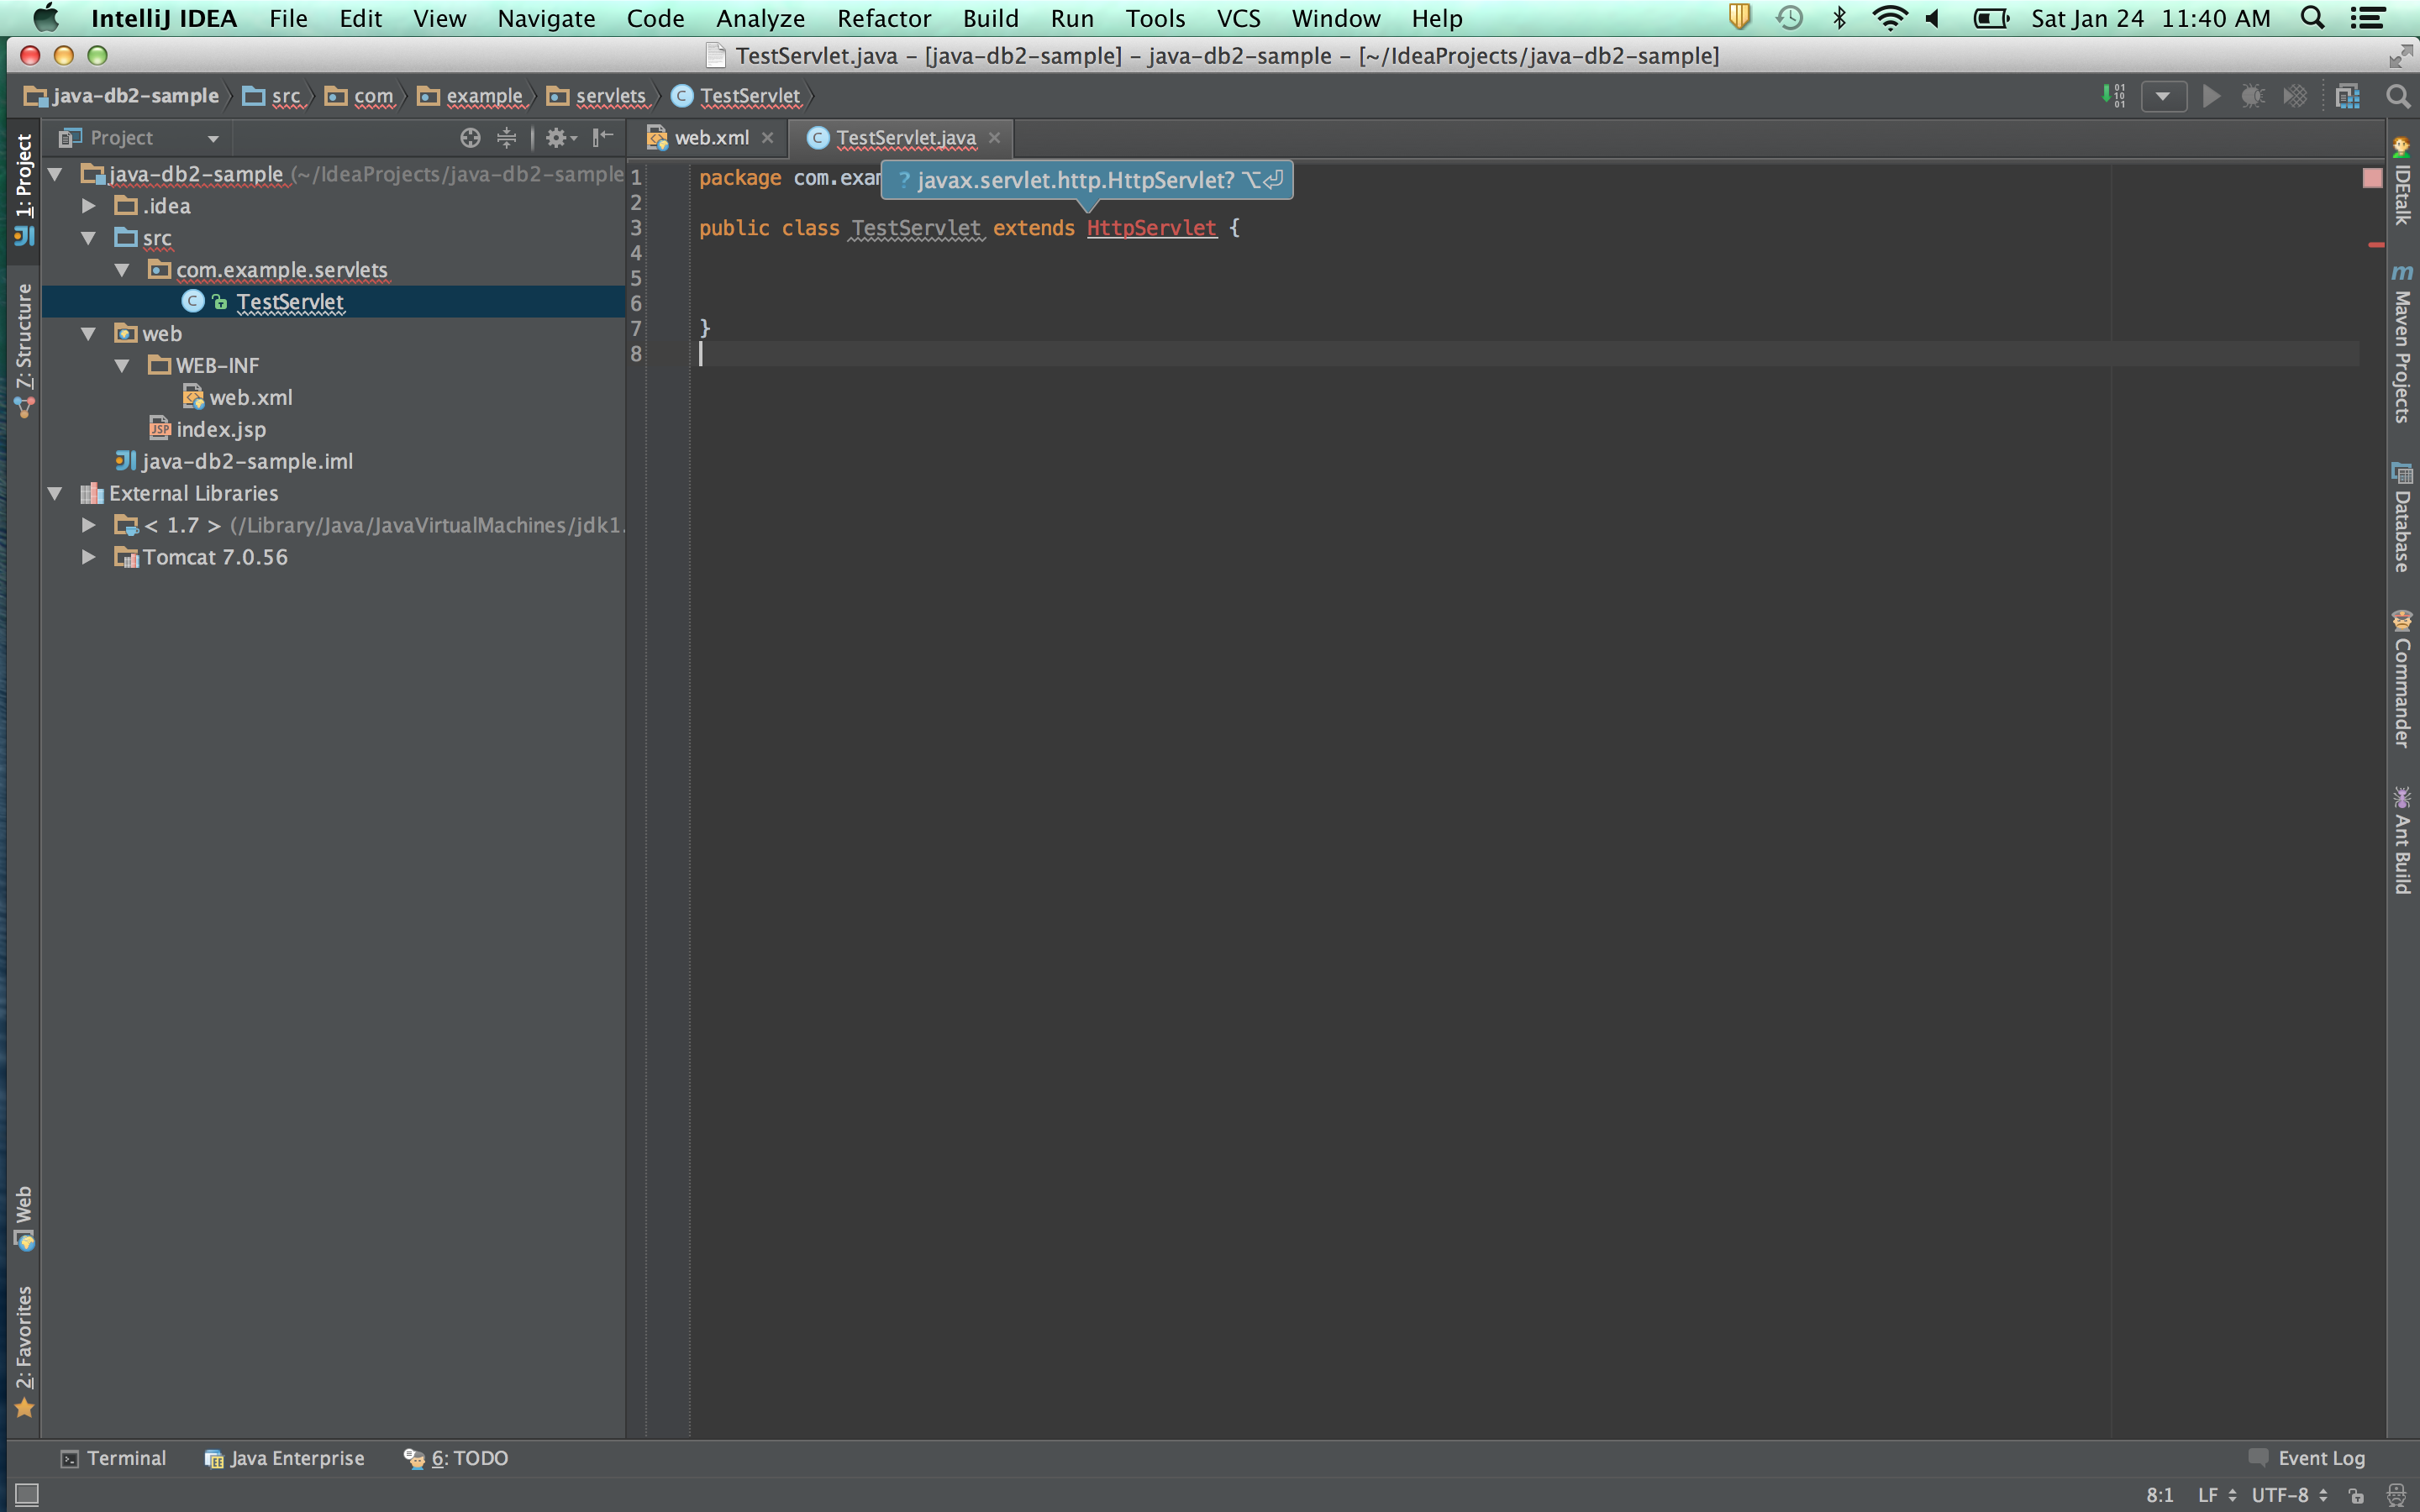
I’m naming my servlet ‘TestServlet’ and having it extend ‘HttpServlet’. I’m also placing it in the package ‘com.example.servlets’ - otherwise the web.xml file mapping wouldn’t know where to find the class.
You should see something like this:
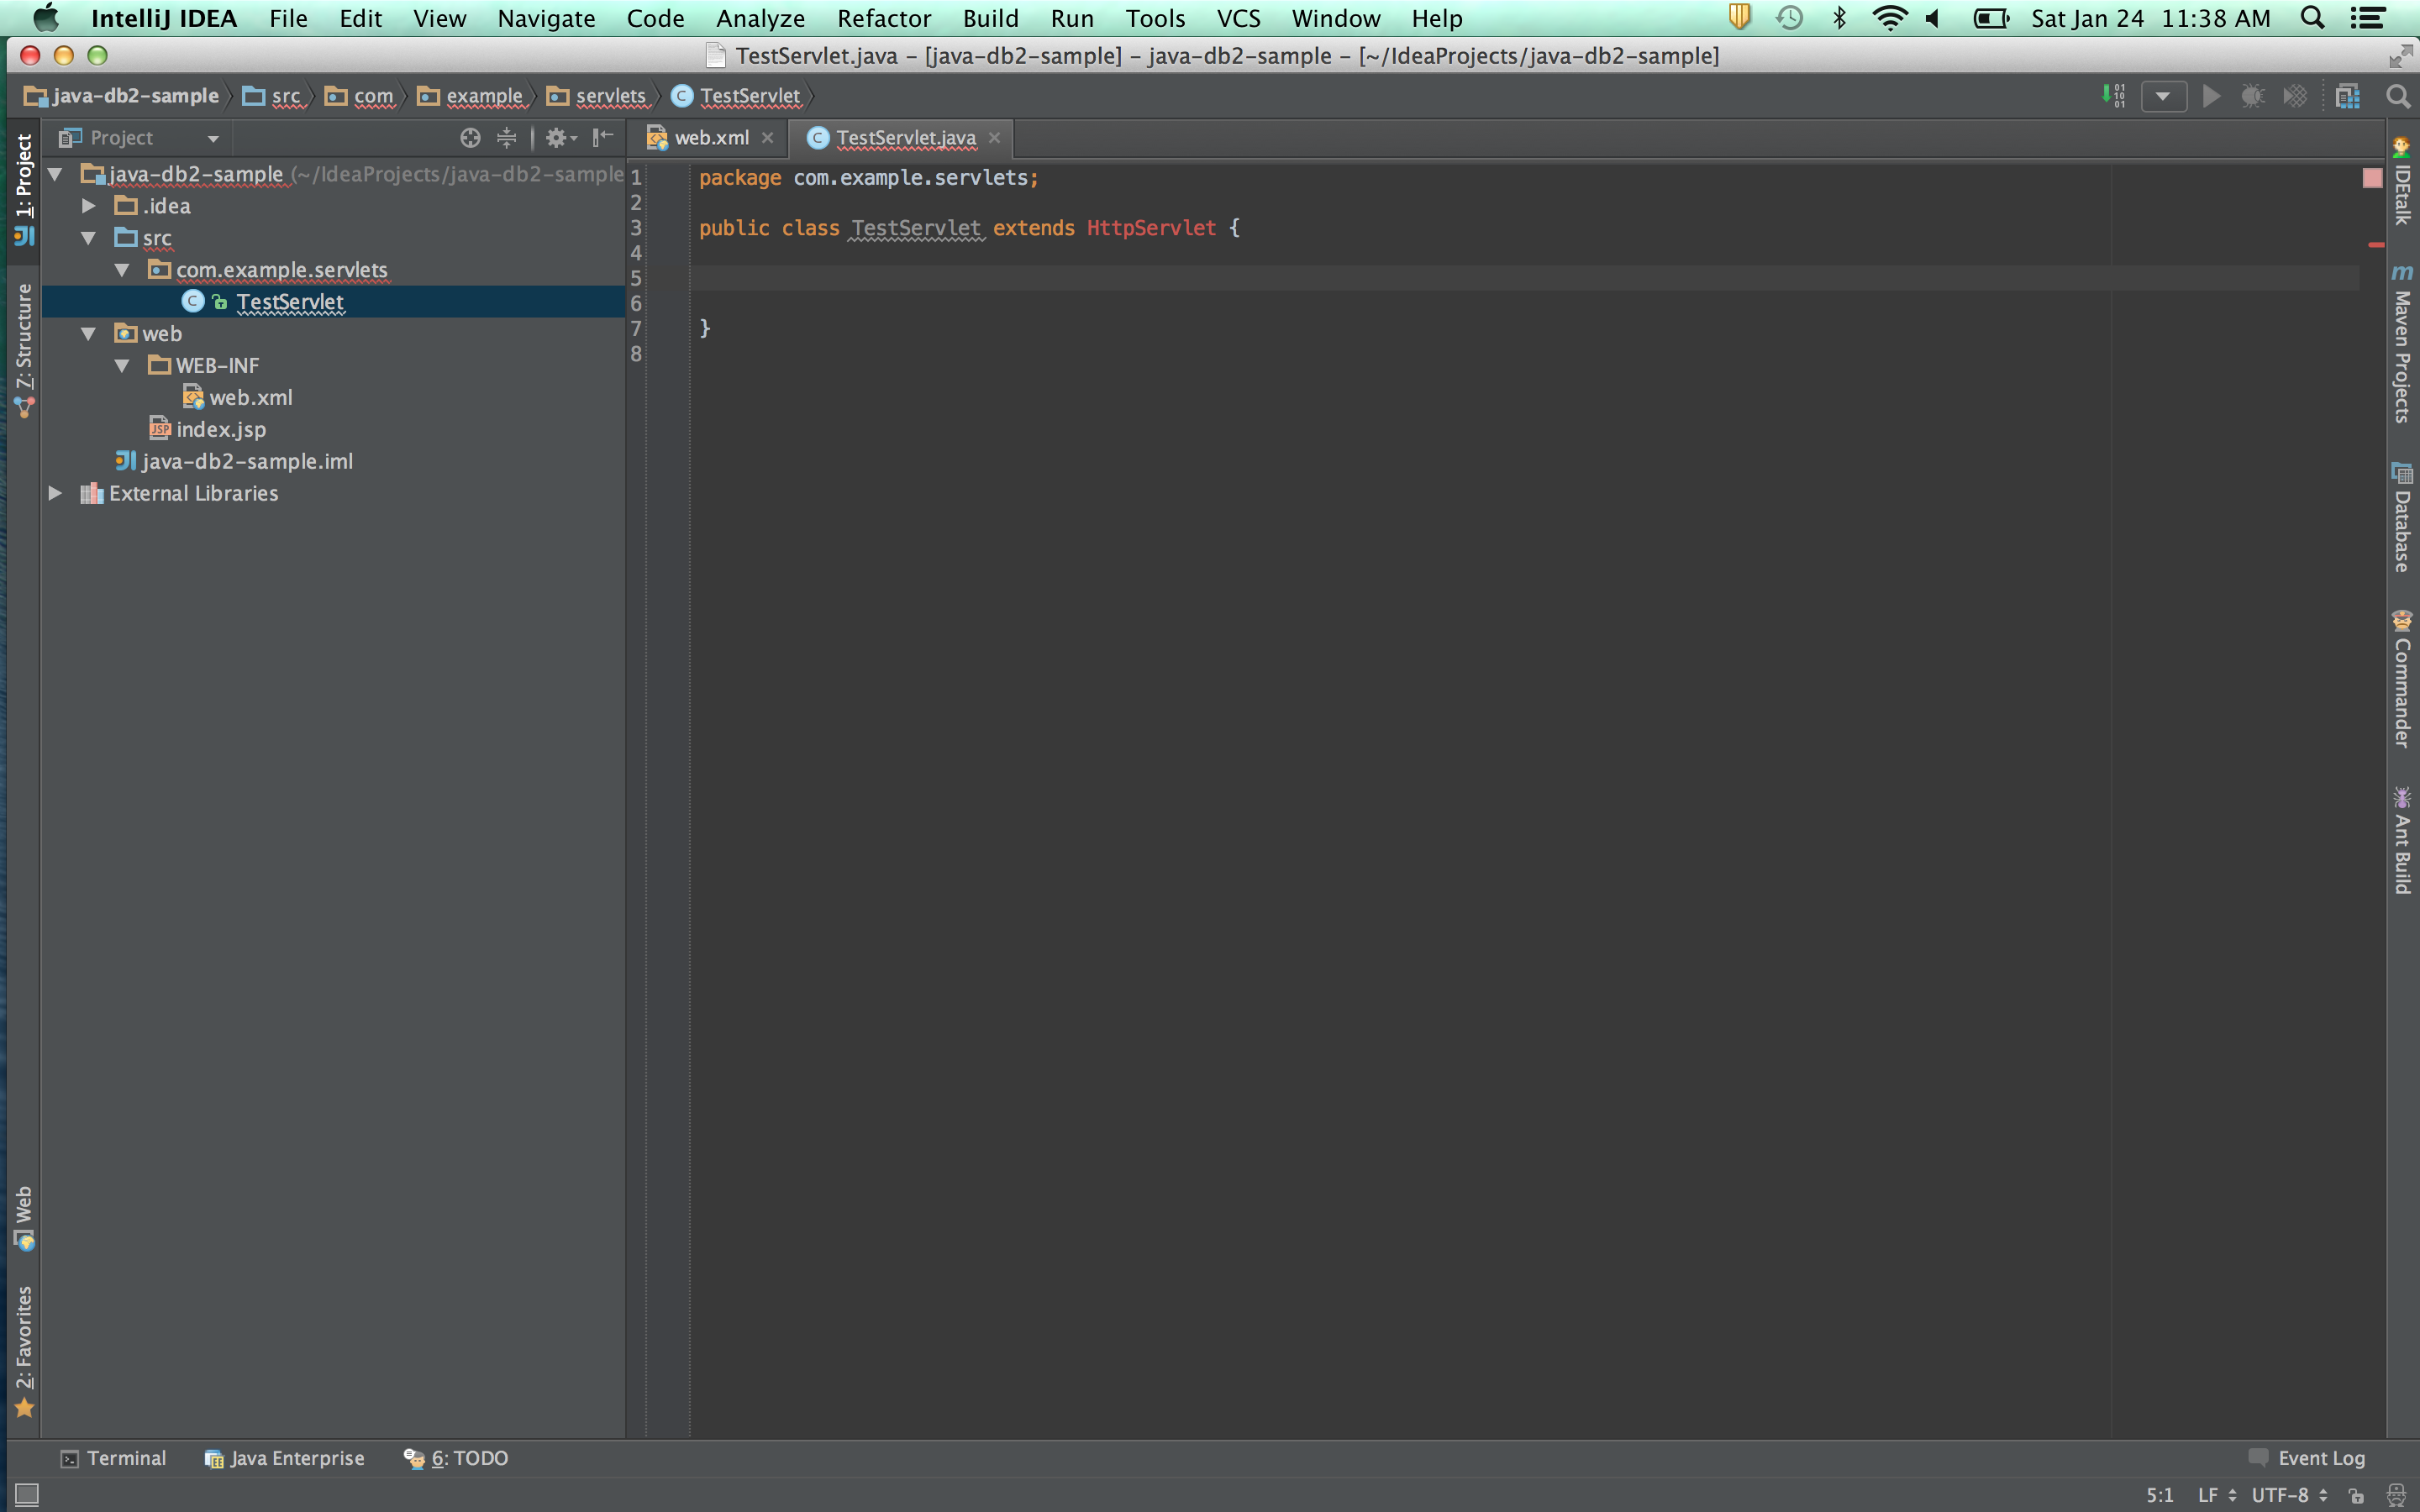
Notice how IntelliJ can’t resolve the class name ‘HttpServlet’. We’re going to fix this by adding Tomcat to our list of dependencies. Open your ‘Project Structure -> Modules -> Dependencies’. Hit the ‘+’ symbol at the bottom of the page, select ‘Library…’, scroll to the bottom of the page that opens and under ‘Application Server Libraries’ select Tomcat.
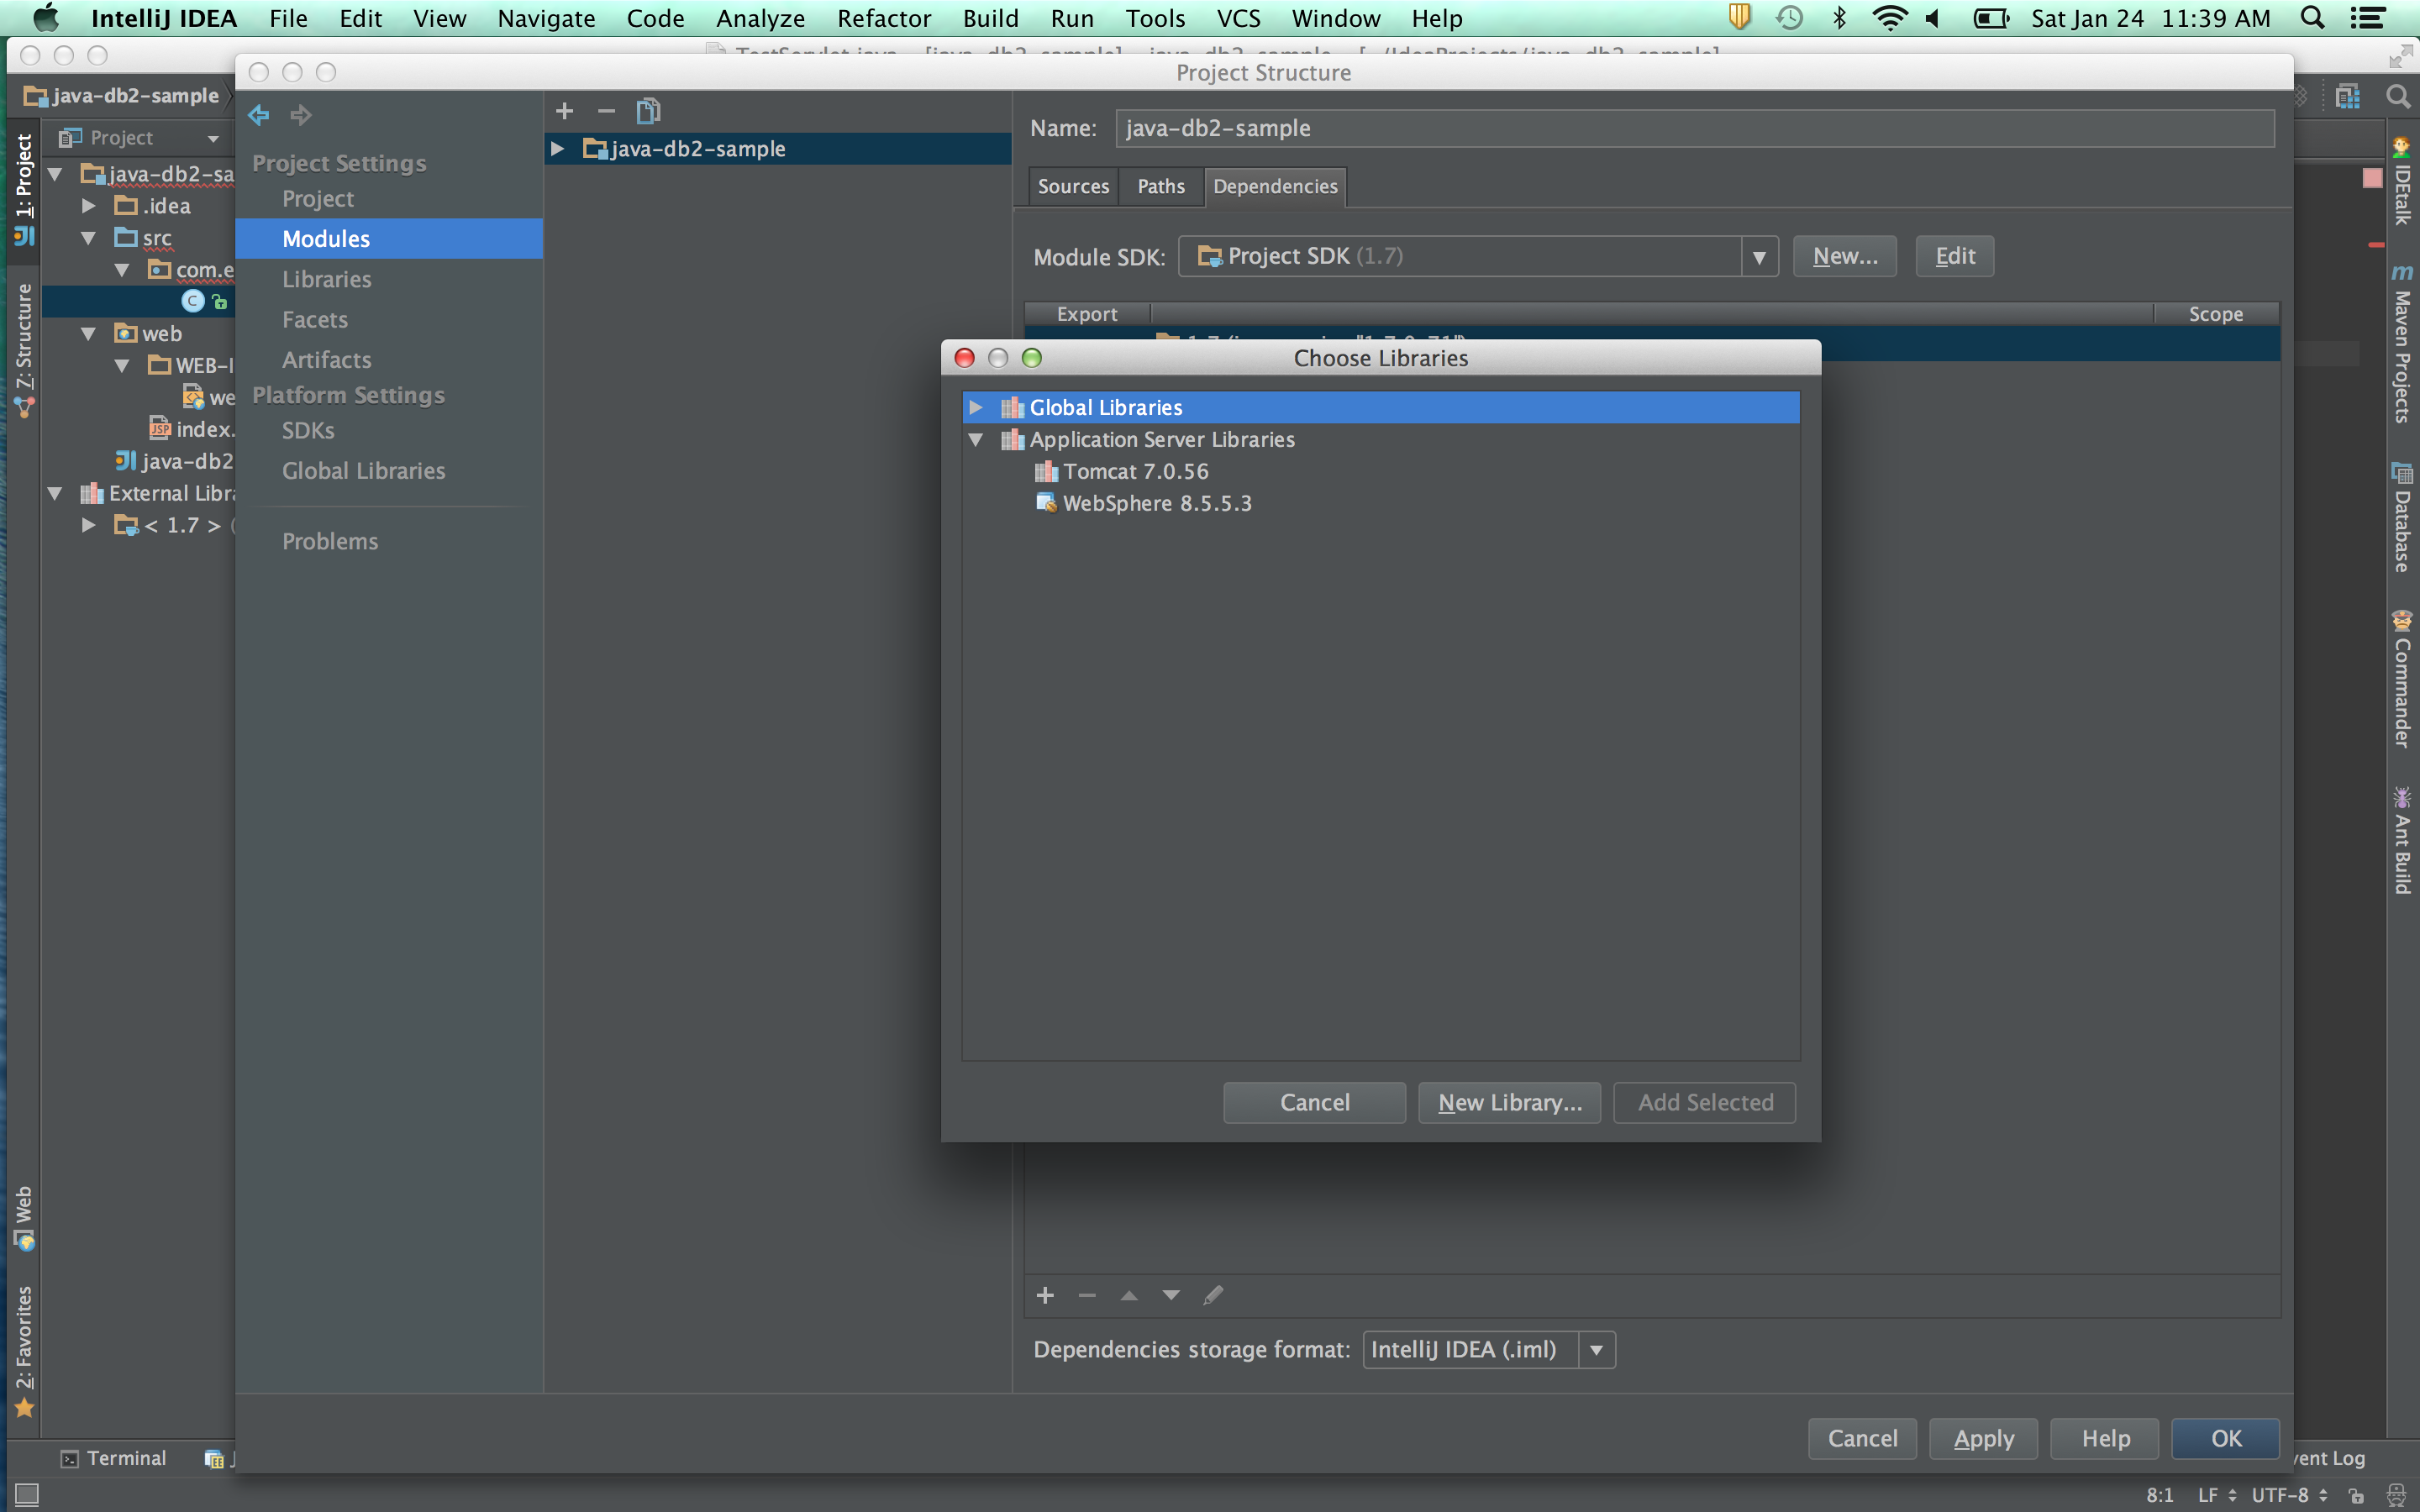
If you don’t see Tomcat in the list, you probably haven’t told IntelliJ about your Tomcat installation. I’m not going to cover installing Tomcat here, but configuring IntelliJ to see your Tomcat installation is simple. Just open ‘Preferences -> Build, Execution, Deployment -> Application Servers’. Add Tomcat by clicking on the ‘+’ symbol and specify the location of your Tomcat directory. Intellij will automatically find the required servlet jars inside of that directory.
Once you include the Tomcat Server Library you should be promted to import the ‘HttpServlet’ class:
Now we’ll write a very simple response to a GET request for this servlet.
public void doGet(HttpServletRequest request, HttpServletResponse response) throws IOException {
    System.out.println("Hello World!");
    response.setContentType("application/json;charset=UTF-8");
    PrintWriter out = response.getWriter();
    out.println("{\"status\": \"cache refreshed\"}");
}
Before we can launch the app to test out the basic response we wrote above we’ll need to add a new Run/Debug Configuration. At the top right of the screen you should see a slide down tab with a little down arrow, click that and hit “Edit Configurations…”.
You should see a screen that looks something like this:
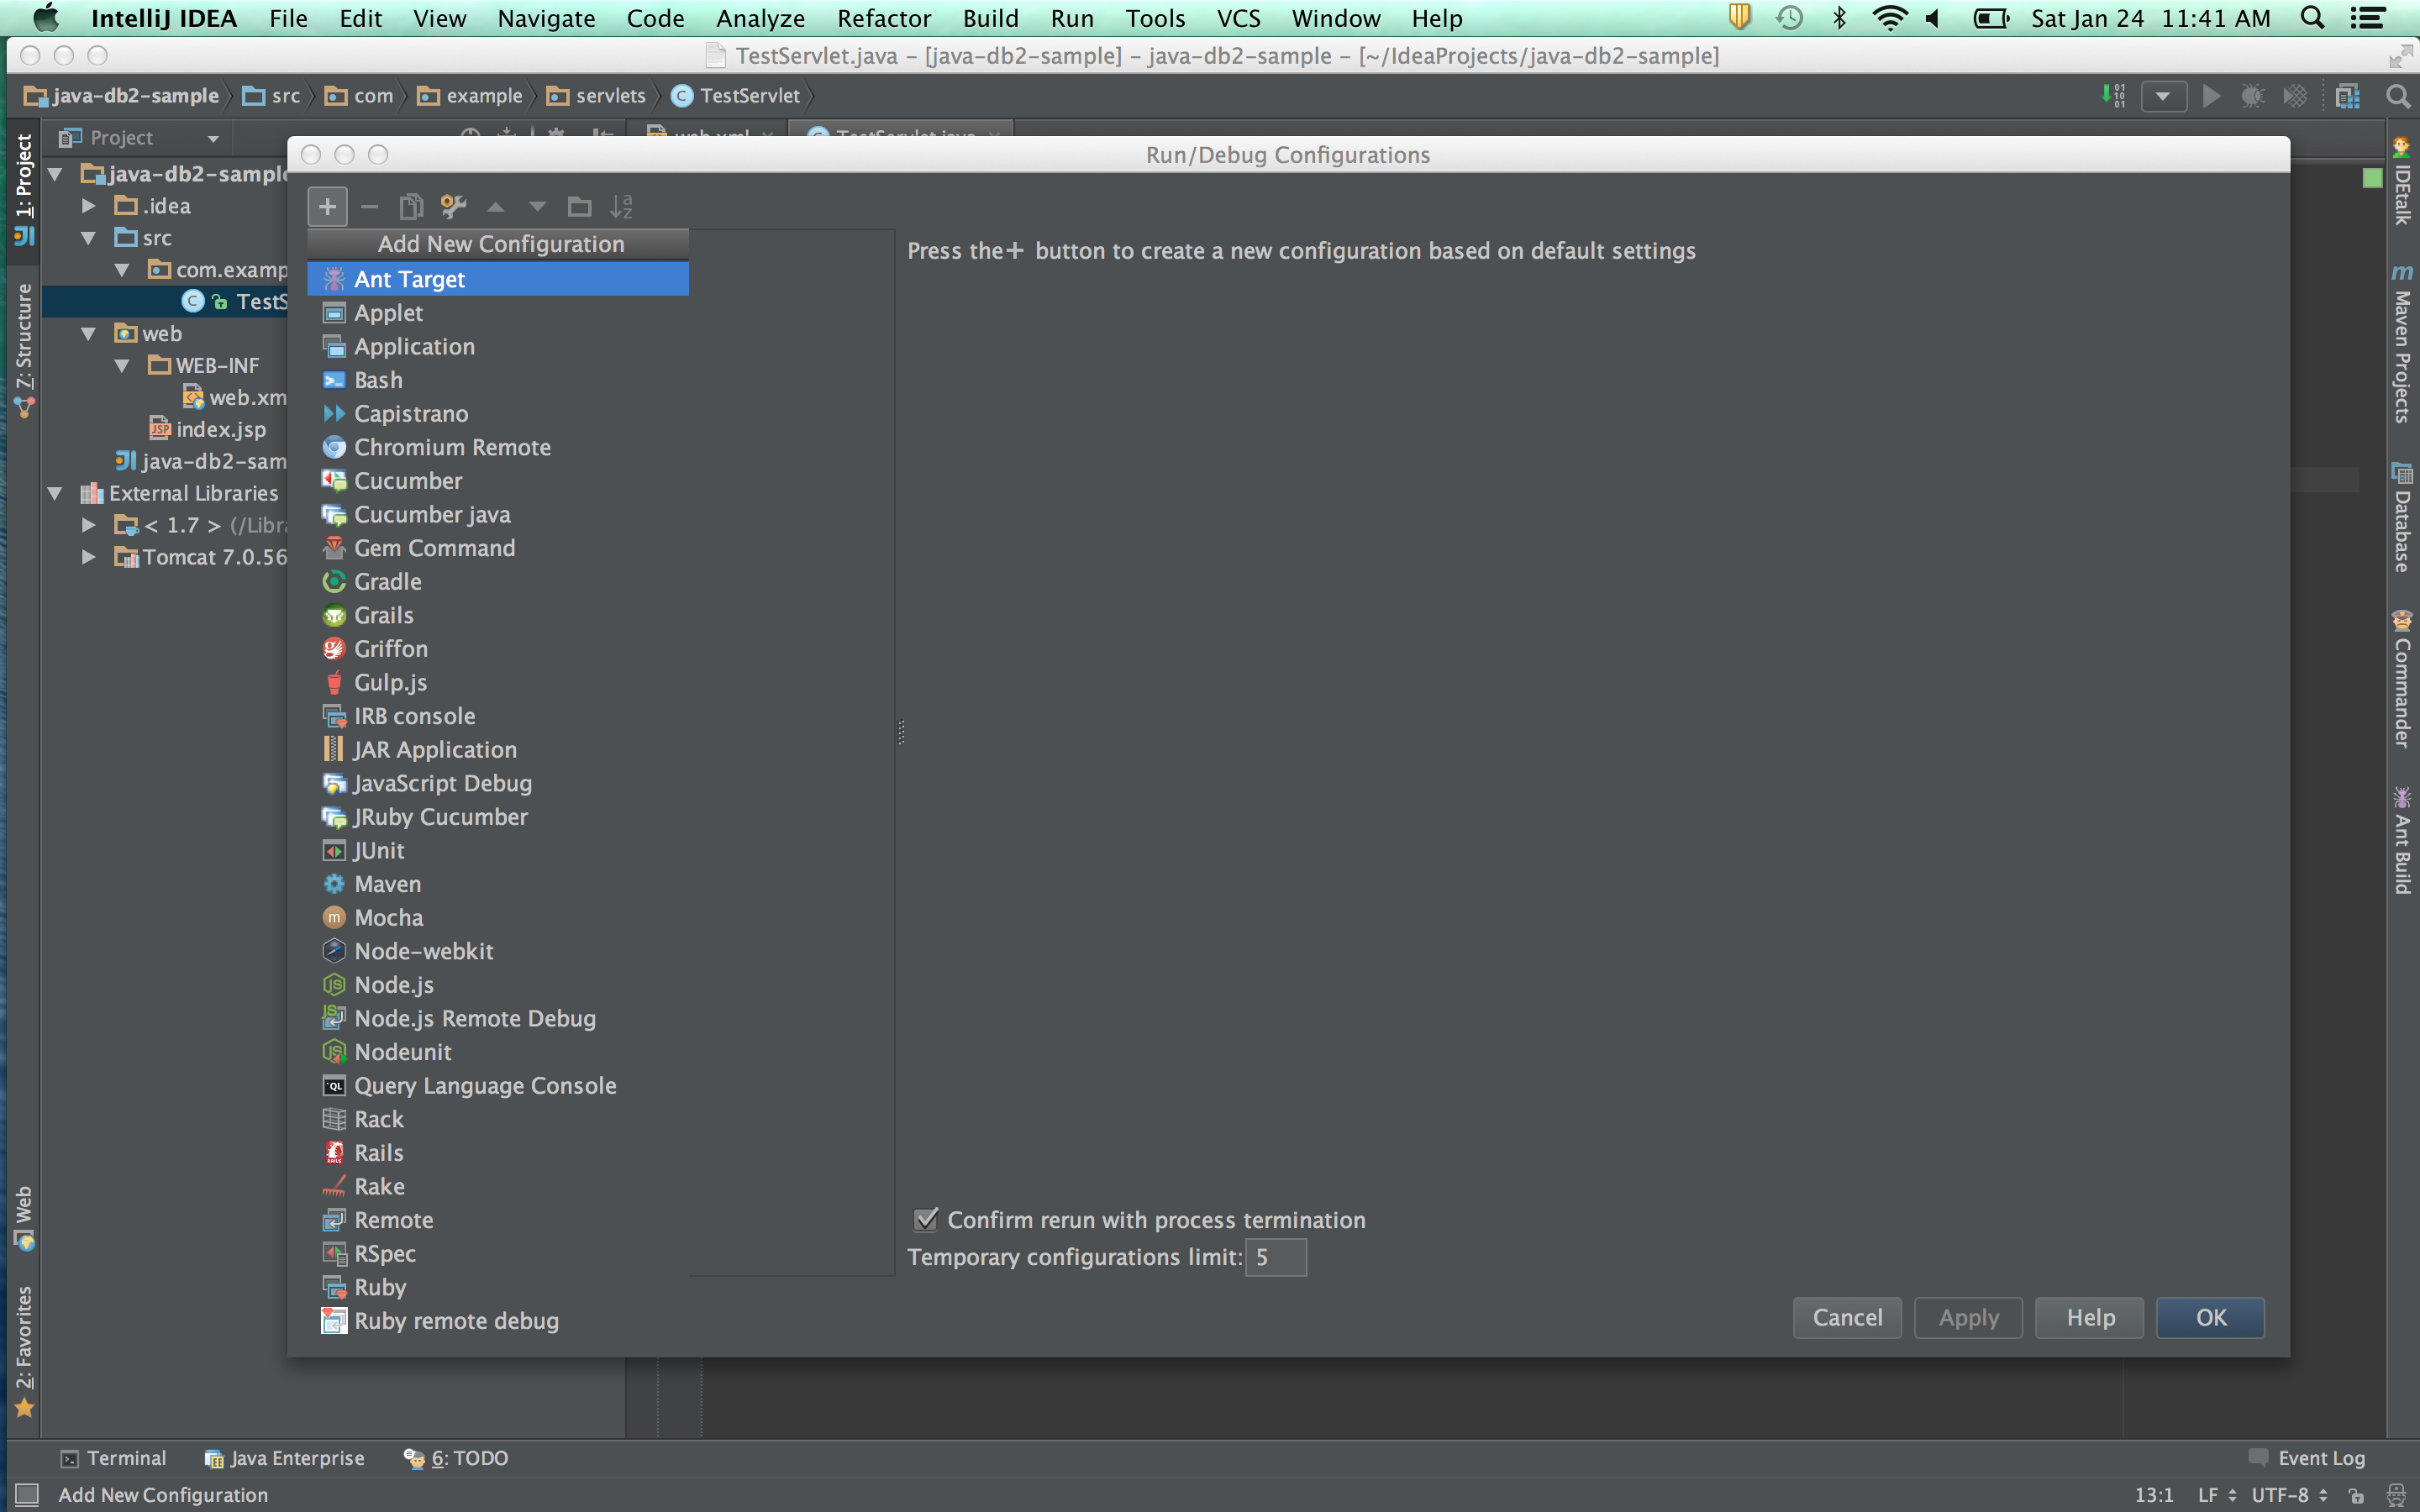
Scroll down the list and select ‘Tomcat Server -> Local’.
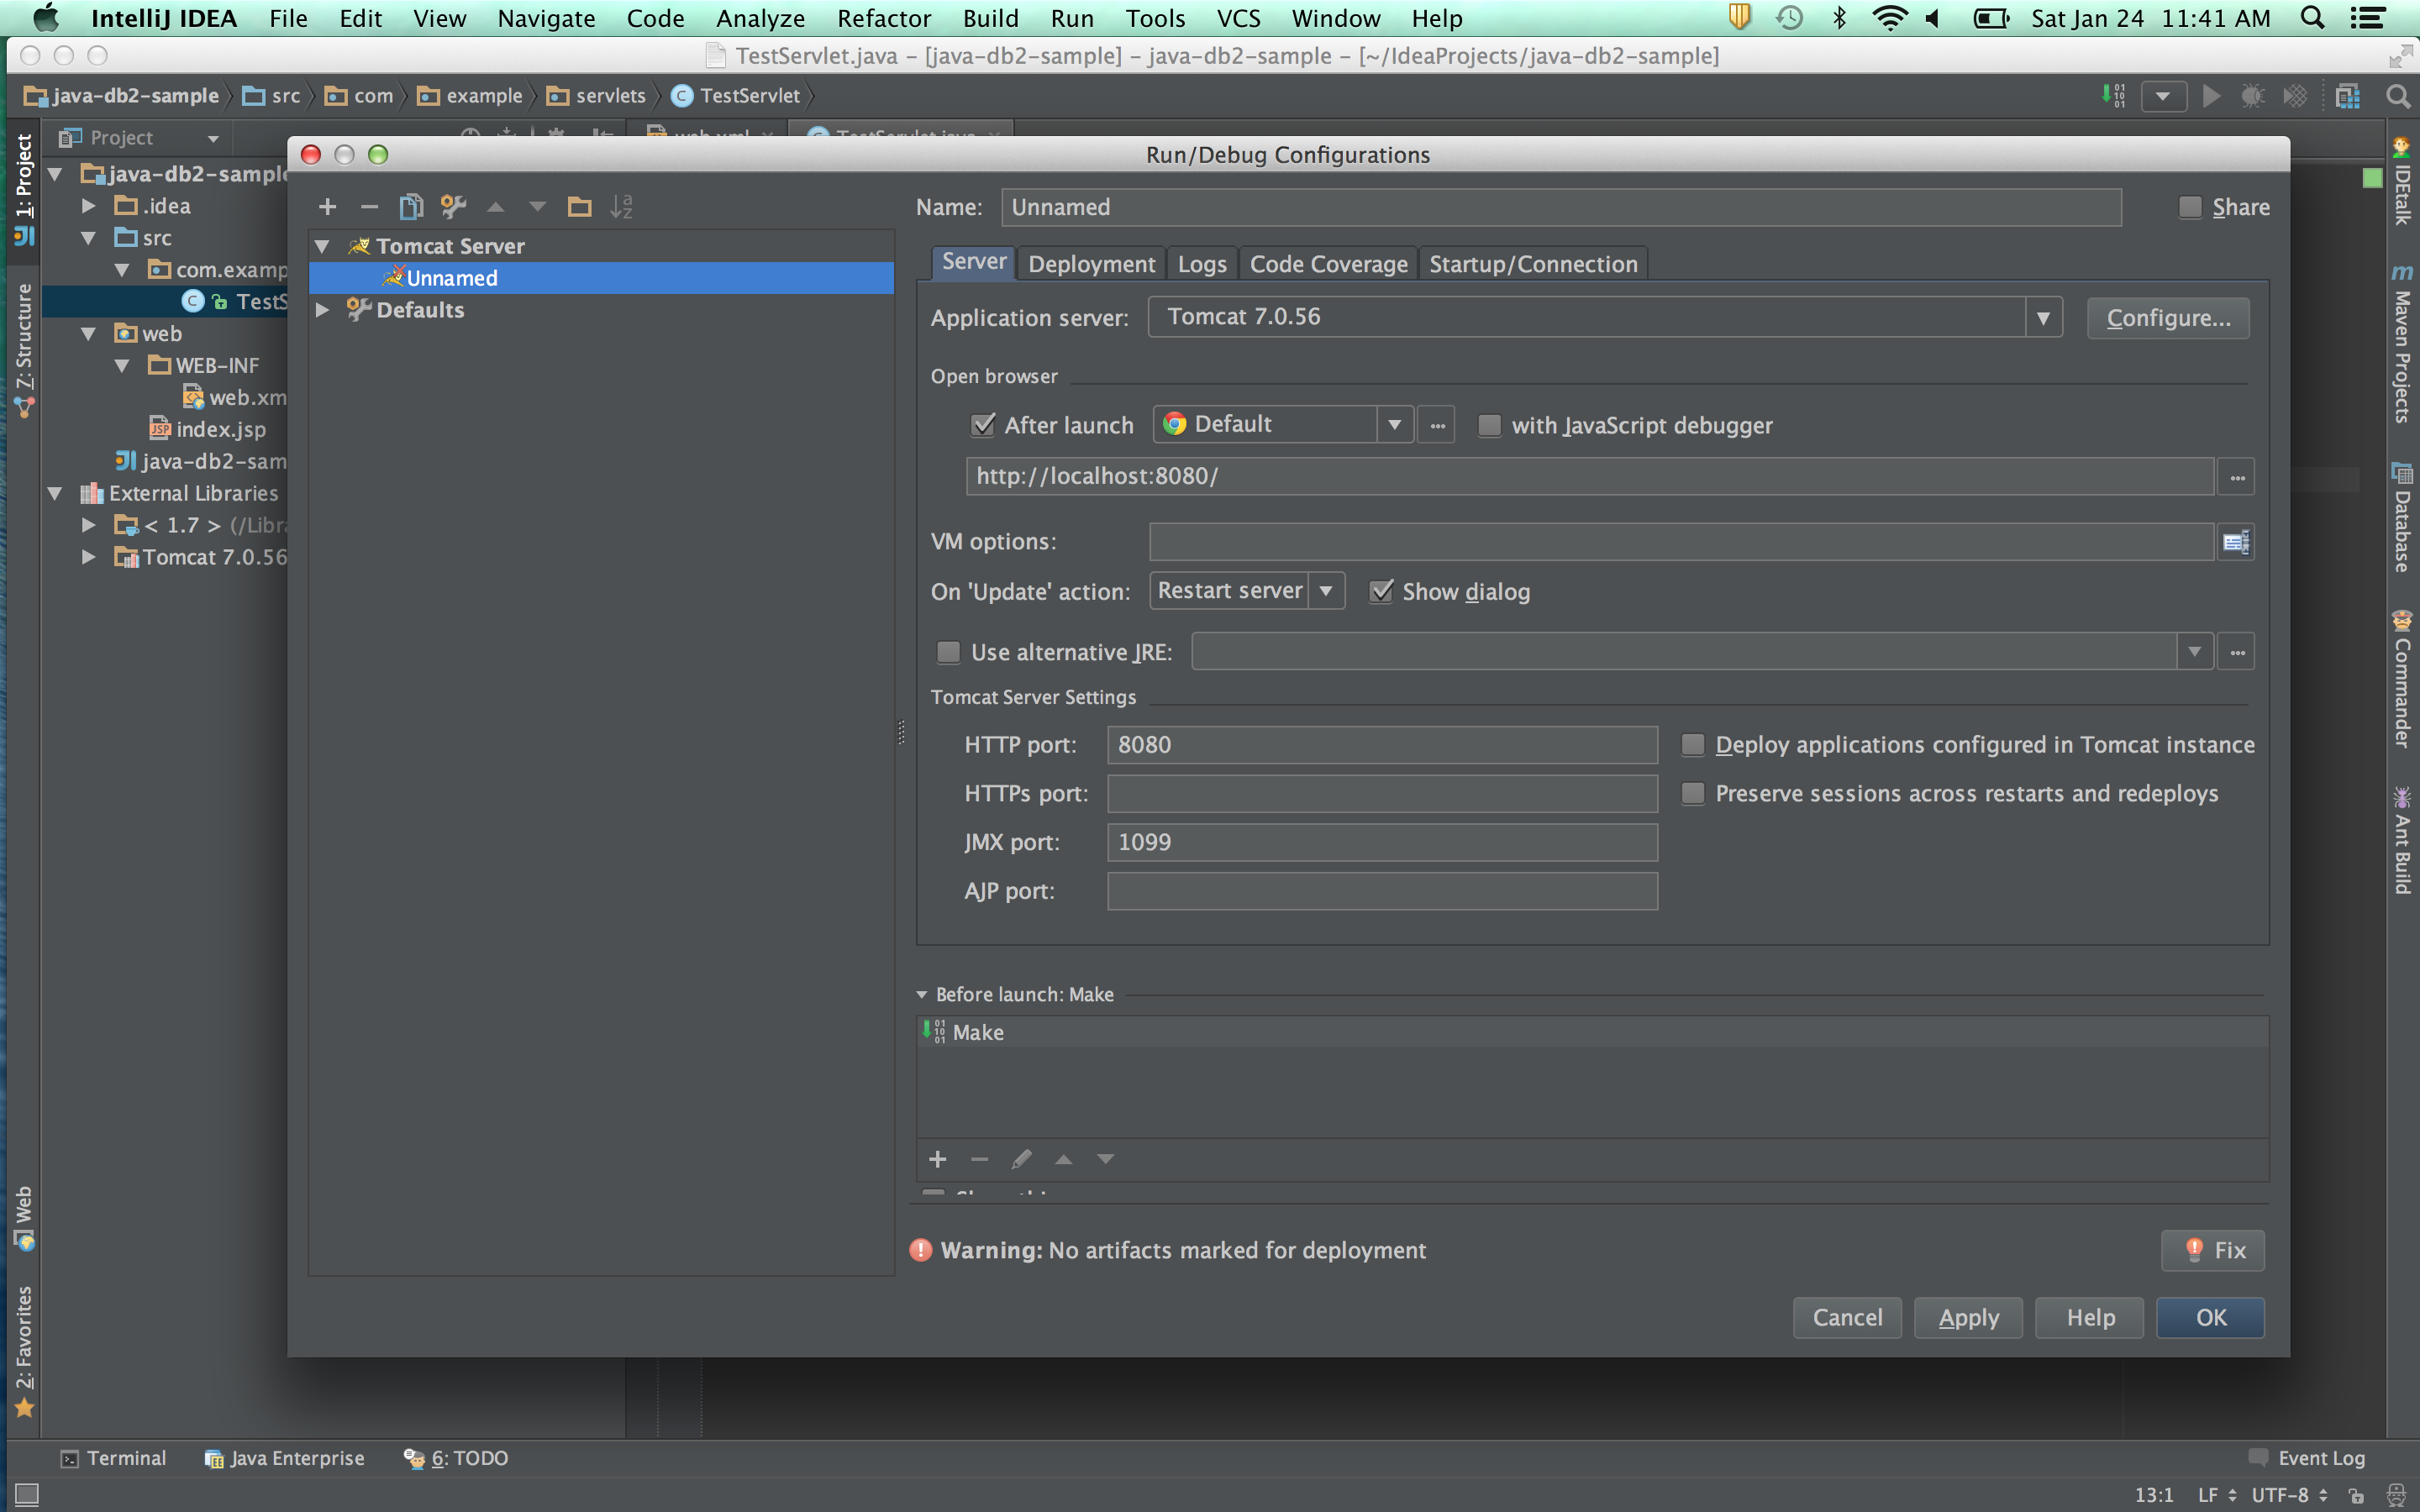
Open the ‘Deployment’ tab, you should see a text field ‘Application context:’ - this is where you can set a custom root for your project. If you leave it empty, your exploded WAR directory will be accessible at the localhost root, for example: http://localhost:8080/. However, I will set my context to be ‘sample’. I do this in order to come inline with how the url will look when the .WAR file is deployed to Tomcat because I name my .WAR file ‘sample.war’ and Tomcat places my app in the ‘sample’ directory when it unpacks the .WAR.
Now you should be able to Launch your servlet. By default IntelliJ will compile the src files, include them in a copy of your WEB-INF directory, and deploy the artifact, accessible at http://localhost:8080/sample/test (though the port number will depend on how you have configured Tomcat).
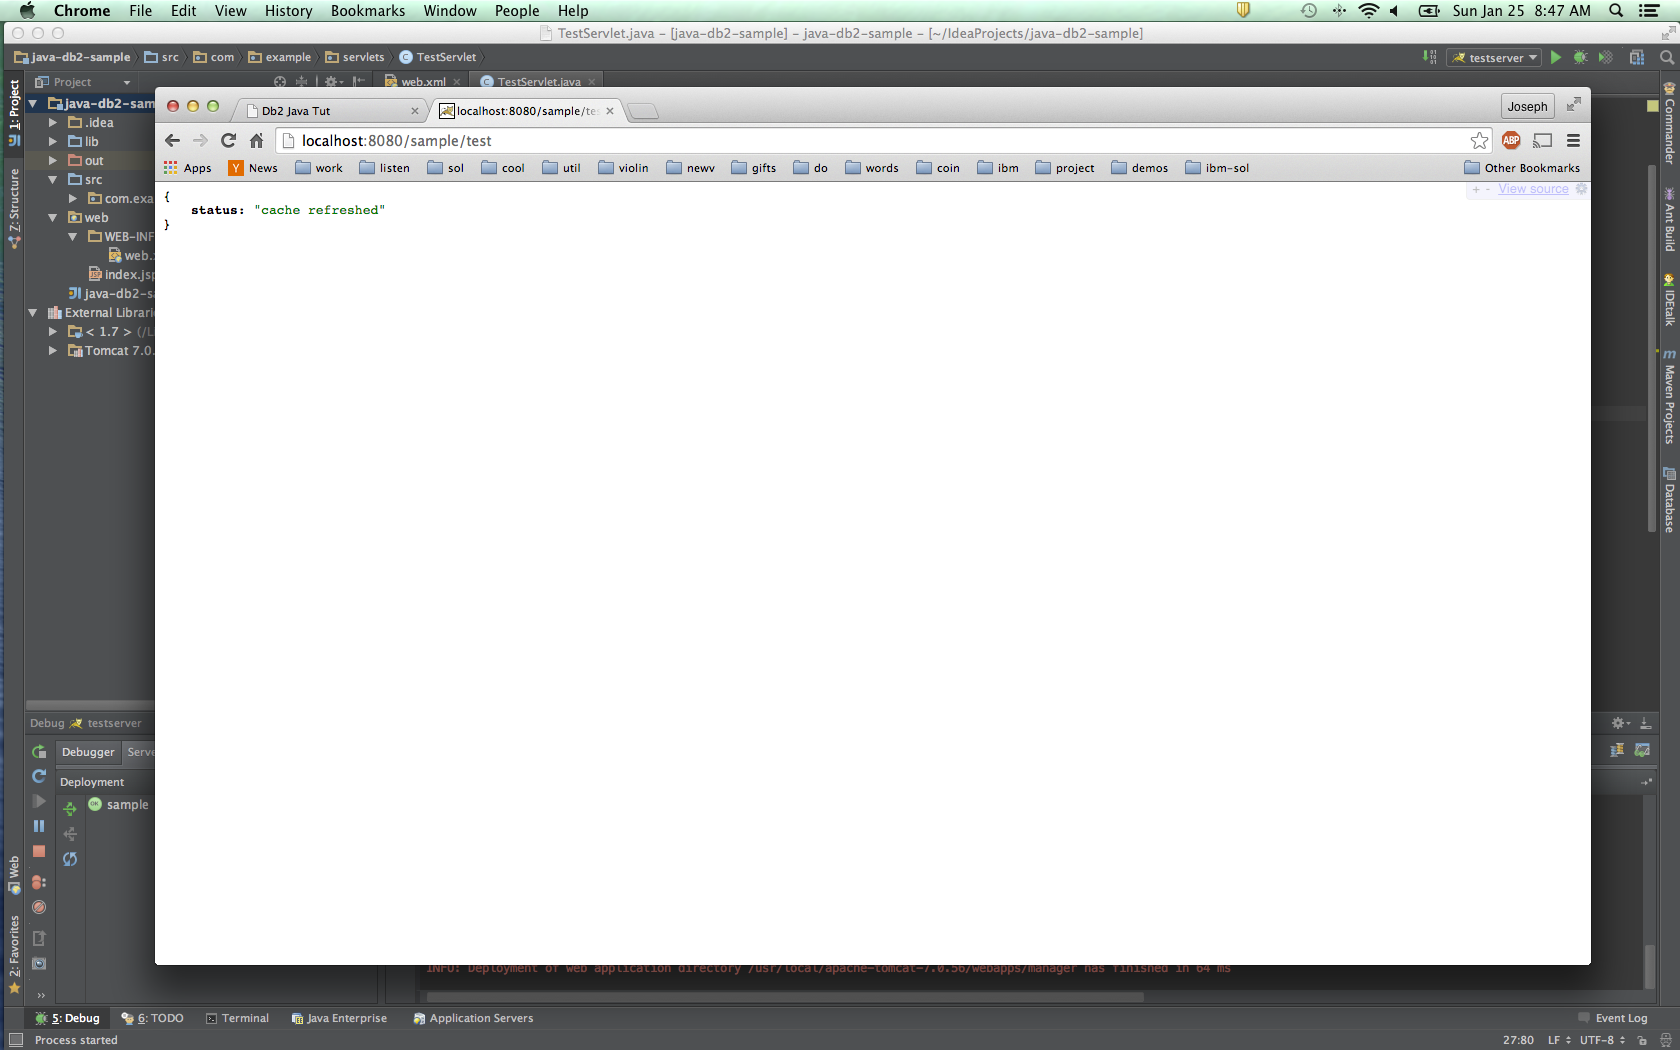
Congrats! Hopefully you’re now seeing something like this on your screen.
Our first step is complete - now let’s move on to the database integration. Before we can start writing java to connect to the database, we need to create the database. I have a virtual machine (VM) running Red Hat Enterprise Linux, on which I have a DB2 installation. This step is one that unfortunately I can’t help you with. DB2 is not free, so you’ll have to figure out how to acquire this software on your own.
In my case I’ve SSH-ed into my VM and have opened up a terminal window. Below you’ll see that I create a database, connect to it, create a table, and insert some sample data into that table.
First open the db2 client with the command db2, once you are in the command line processor, run these commands:
create database test_db
create table test_table (name VARCHAR(100) NOT NULL, age INTEGER NOT NULL, PRIMARY KEY (name) )
insert into test_table values ('joe', 26)
OK - now we’re ready to start writing more java code.
Go back to TestServlet.java and add the following inside our doGet method.
	...
	System.out.println("Hello World!");

        try {
	    // load the driver, contained in db2java.jar
            Class.forName("com.ibm.db2.jcc.DB2Driver");

	    // the location of your db2 install, 50000 is the default port, yours may be different
            String url = "jdbc:db2://localhost:50000/test_db";
            String username = "admin";
            String password = "password";

            Connection connection = DriverManager.getConnection(url, username, password);

            try {
                // statements are good for small, short queries, Connection objects allow several ways to create queries
                Statement st = connection.createStatement();
                String myQuery = "SELECT * FROM test_table WHERE name = 'joe'";
                System.out.println("query: " + myQuery);
                // execute the query
                ResultSet results = st.executeQuery(myQuery);
                // loop through our results
                while (results.next()) {
                    String age = results.getString("age");
                    System.out.println("joe's age is " + age);
                }
                results.close();
                st.close();
                connection.close();
            } catch (SQLException sqle) {
                sqle.printStackTrace();
            }
        } catch (ClassNotFoundException e) {
            System.err.println(e.toString());
        } catch (SQLException e) {
            e.printStackTrace();
        }

	...
Now let’s include our .jar files. Open up your Project Structure and click on ‘Libraries’. Click on the ‘+’ symbol and select the .jar files inside the ‘lib’ directory that we gathered together in the first step of this tutorial.
One note about these jars. You don’t actually need both jars, they each contain a different driver for connecting to a DB2 instance.
A complete explanation on the differences between the two drivers can be found here: http://www.ibmpressbooks.com/articles/article.asp?p=170336&seqNum=2
My shortened take away is that db2java.jar is a legacy driver and is loaded with this line
Class.forName("COM.ibm.db2.jdbc.app.DB2Driver")If you load this driver and do not incude the .jar, you’ll get this error: “java.lang.ClassNotFoundException: COM.ibm.db2.jdbc.app.DB2Driver” error.
db2jcc4.jar contains the “Universal” driver, which is more performant and flexible than the earlier version. This is the version I use in my above code snippet. If this file is not included when you load the class you see this error: “java.sql.SQLException: No suitable driver found for jdbc:db2://localhost:50000/test_db” error
I did not experience any errors when I failed to include db2jcc_license_cu.jar despite IBM’s documentation stating it was required. I’m going to include it anyway.
Make sure your ‘lib’ directory is marked as a ‘Source Folder’ (this can be done in Project Settings -> Modules) and that you’ve included these new libaries in your exploded WAR directory. I find it easier to remove the artifact and re-add it once you’ve added a library directory as IntelliJ will automatically try to include the library files inside the exported WAR directory, or will at least prompt you to allow this to be done automatically.
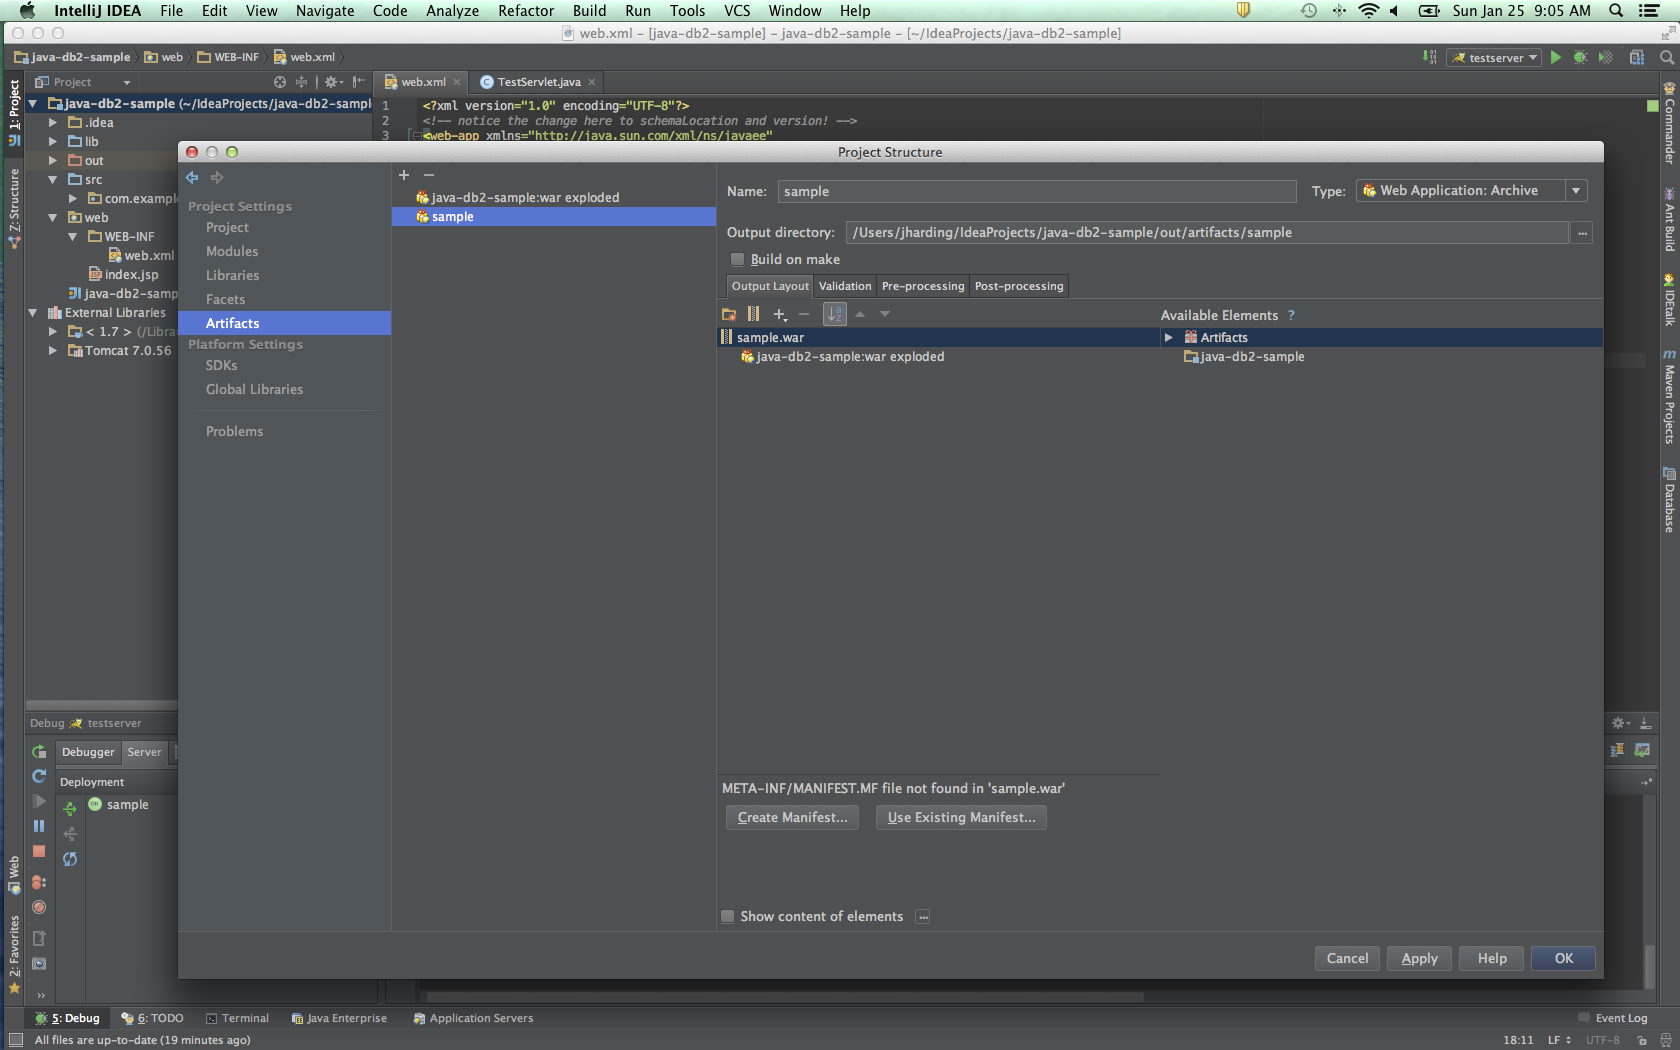
I’ll add here that I deploy only my archived .WAR file. In my setup, I’ll be copying the .WAR file over to my VM for testing, so using a .WAR file is easier than moving an entire exploded directory. You can add an archived .WAR file to your list of artifacts in the ‘Project Structure -> Artifacts’ menu. Just select the ‘+’ symbol and choose ‘Web Application: Archive -> For <your exploded WAR directory>’.
Here’s what my ‘Artifcats’ look like for my exploded WAR directoy:
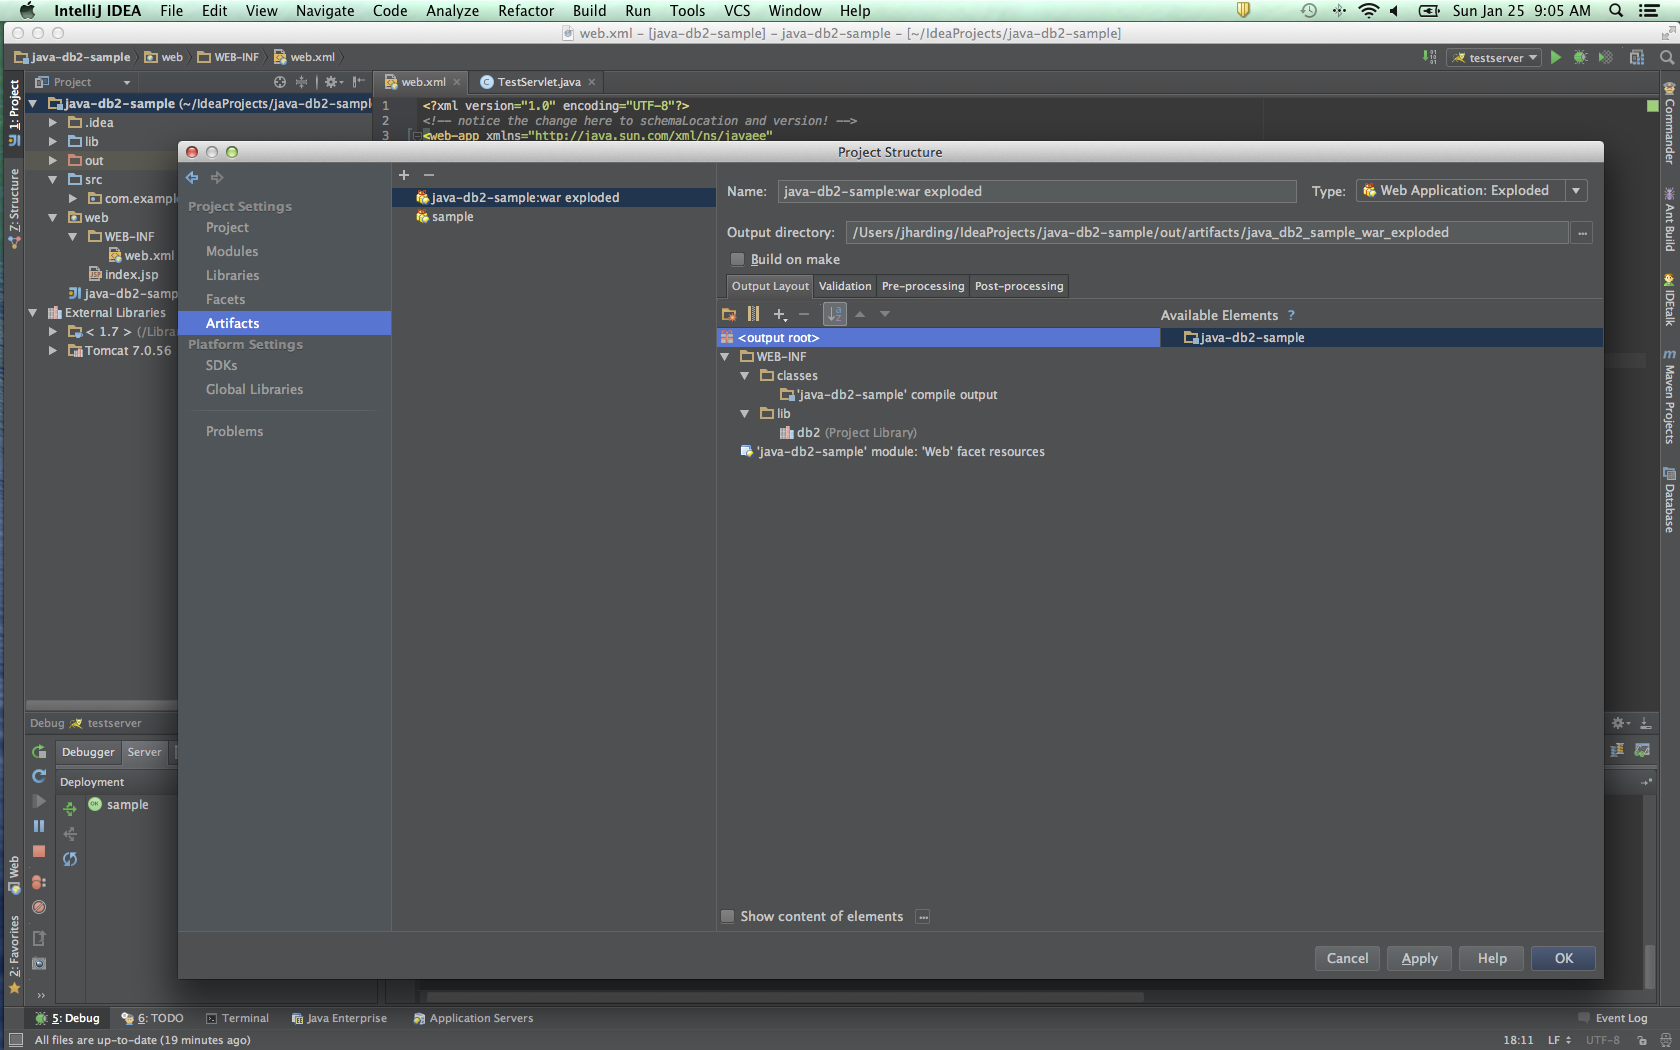
And for my archived .WAR file:
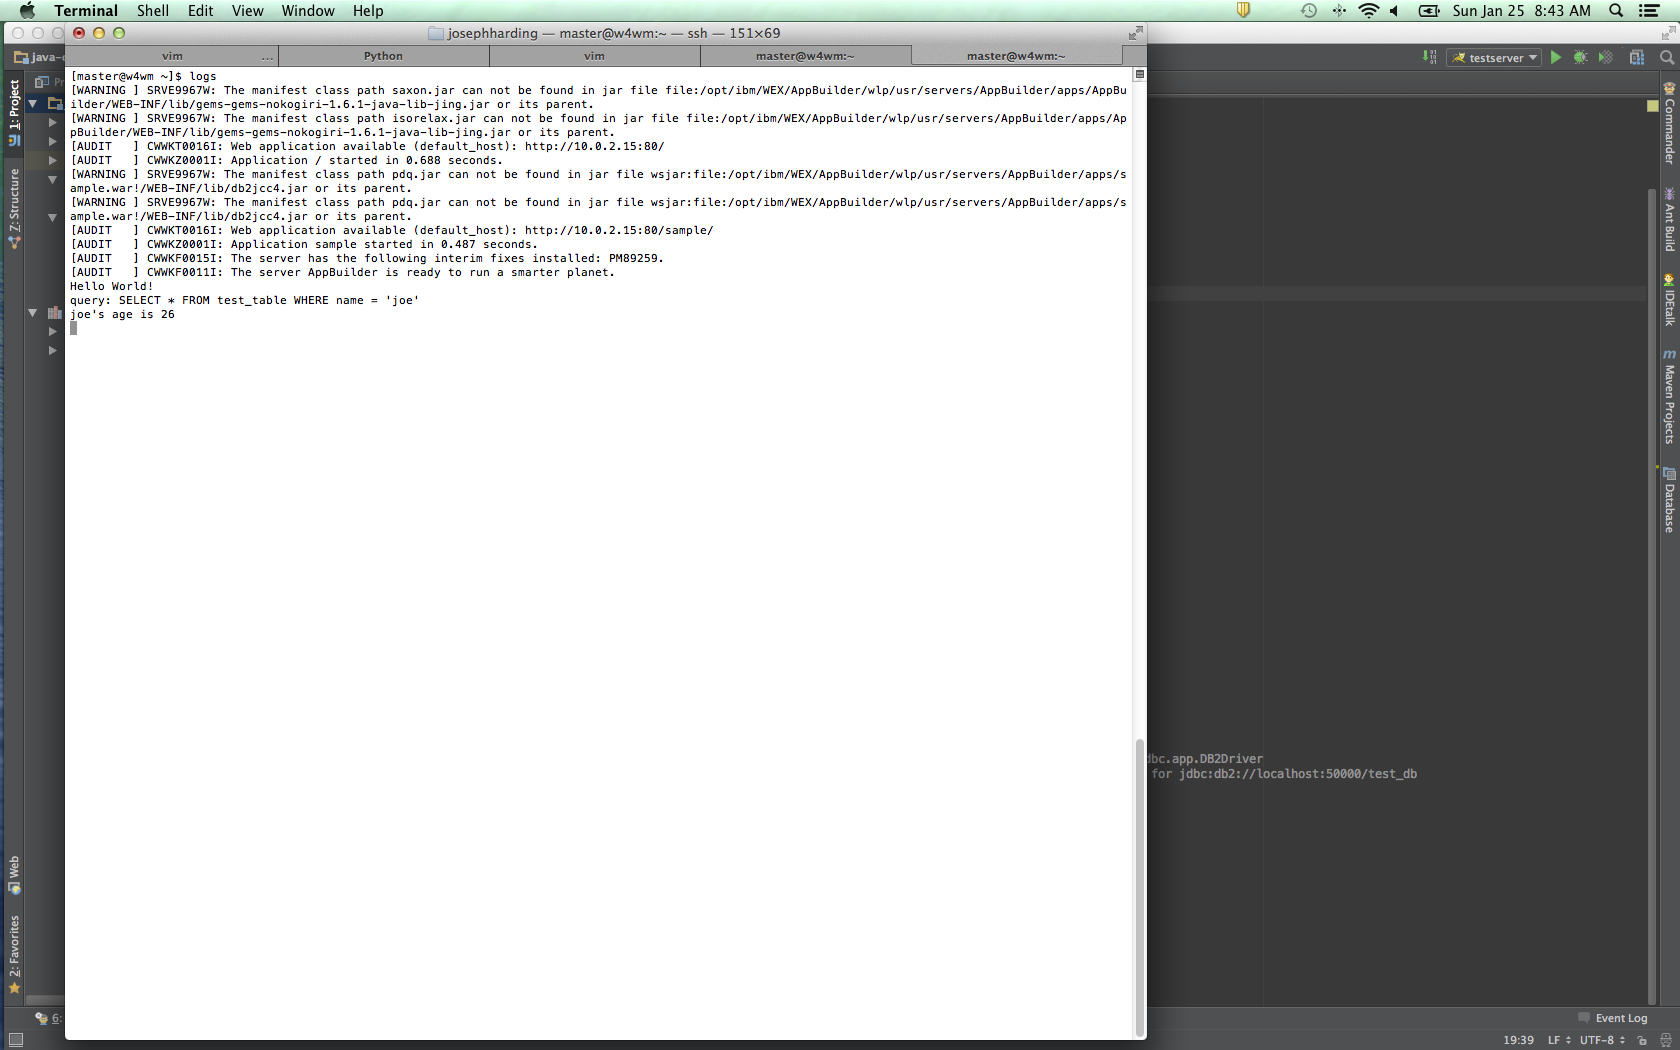
Now that we’ve included our library .jar files, and written our DB2 connector java code, it’s time to test it out! Since we’re using Apache Tomcat all you have to do is copy a newly compiled .WAR file into your ‘apps’ directory and then restart Tomcat, or if you are developing in IntelliJ on the same machine that DB2 is installed, just build the project.
Either way, if you’re tailing the logs you should see something like this when you navigate to http://localhost:8080/sample/test: